Commercial Popcorn Ceiling Removal in Raleigh
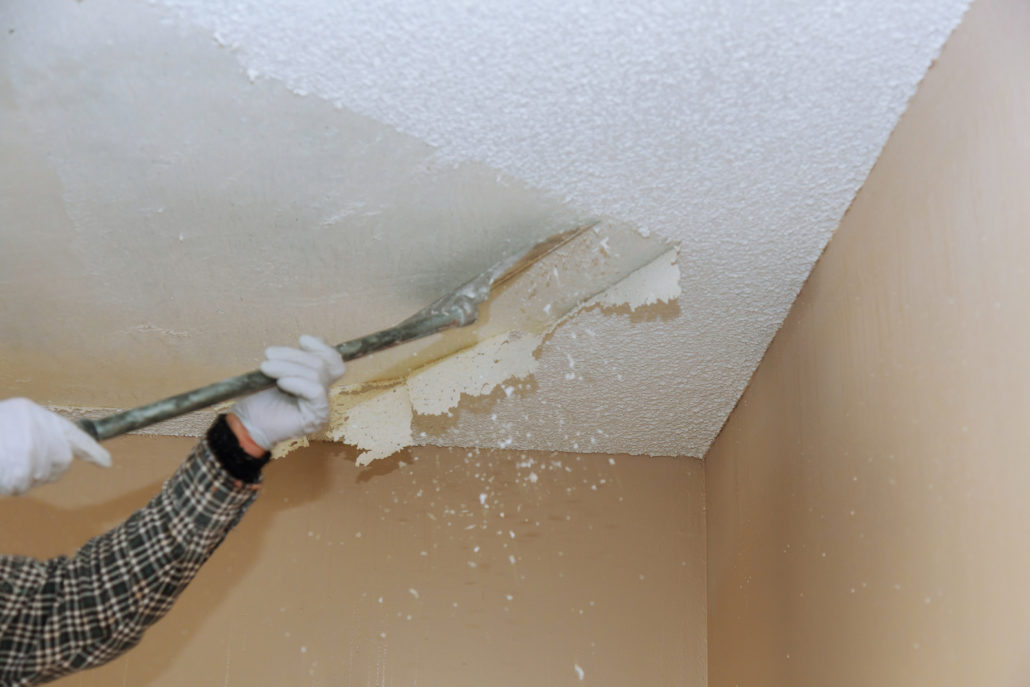
Trying to remove your own popcorn ceiling? We offer commercial popcorn ceiling removal in Raleigh. Prepare to invest lots of time. Scraping popcorn bumps from ceilings is messy and time-consuming. If you’re not careful, drywall could get damaged, requiring further repair work. Popcorn removal can take weeks, depending on the size of the complex. Lucky for you, Chroma Painting will remove old popcorn ceilings as long as the ceiling hasn’t been painted. The process goes through at least four steps: removal of popcorn, mud the ceiling, apply primer, and then apply two coats of paint to the new, flat ceiling.
Maybe you love your popcorn ceilings? Not a problem! We will happily touch up any damaged areas so that you can go on loving on your popcorn ceiling. It’s a quick and affordable process that will give the ceiling a fresh look. No one likes to see little pebbles from the ceiling on the floor; let us help you with that!
Why are popcorn ceilings a thing? Popcorn ceilings were most widespread in the ’60s and way into the ’90s, so they are typically found in older complexes and homes. Many builders sprayed them on to cover imperfect ceilings. Rumors started to spread that the popcorn ceilings would dull the sound spread throughout the complex. That’s not exactly true. Now, in 2019, popcorn ceilings are no longer in “style” and many people are looking for a reasonable means of removal.

Why Hire CHROMA Painting?
We can handle any ceiling makeover. Tell us your vision, and we will take it from there. We utilize a 5-step approach that guarantees the best results each and every time we take on any new project.
Chroma Painting is a residential and commercial painter. In addition to Durham we also paint homes and offices in Apex, Carrboro, Cary, Chapel Hill, Creedmoor, Durham, Fuquay-Varina, Garner, Henderson, Hillsborough, Holly Springs, Knightdale, Morrisville, Pittsboro, Raleigh, Rolesville, Wake Forest, Wendell, Willow Spring, Youngsville and Zebulon.
Our residential painting division specializes in painting of cabinets and furniture, garage floors, popcorn installation and removal, sheetrock repairs, staining, wallpaper application and removal, pressure washing, minor repairs, deck staining and concrete staining. Our commercial painting division specializes in popcorn installation and removal, sheetrock repairs, wallpaper application and removal, epoxy floors, metal coatings, parking lots and pressure washing.
The Chroma Process
1. Setup
Before we start your removal or re-painting, we take the steps necessary to protect your flooring, furniture and other items. This includes covering the floor with drop cloths and moving all items to the center of the floor where we cover them with plastic sheeting.
2. Preparation
Next, our team of interior house painting professionals prepares the walls and ceilings so at the end, they will look as good as new. This step may also include sealing stains, scuff sanding the surface, and filling holes and cracks in the wall.
3. Painting
Once the room is properly prepared, it is time to prime and to begin the interior house painting process. We get right down to business applying the paint you have chosen. The room will begin to take on a new life.
4. Clean Up
After the paint has dried, we remove our materials and move everything back to where you request. Then we’ll vacuum and sweep your floors to ensure the room is as clean, if not cleaner, than before we started your interior house painting project.
5. Inspection
Finally, we inspect our interior house painting work after each project. Once we’re satisfied, we’ll then ask you to perform an inspection to make sure our work has exceeded your expectations.
